If you’re an educator looking to engage students in a fun, interactive way, becoming a Gimkit Host is a game-changer. Quizzes get transformed into live games on the platform called Gimkit. In addition, as a host, you will be the one to come up with interesting content and also ensure that the learners remain interested and learning throughout the games. Here is everything you ought to know as well as execute to become a Gimkit Host and to make your game fascinating, knowledgeable, as well as glitch-free.
Who is a Gimkit Host?
A Gimkit Host is the person who creates a Gimkit game and is in charge of it. Hosting means having a quiz or choosing one, having a game mode, starting the game and making sure that it works fine. While you are being a host, you will also assess students’ performance and give recommendations on how they are progressing. There is Gimkit free version, however, some additional features like more style flexibility and statistics are available only for Gimkit Plus.
Step-by-Step: Participation in a Gimkit Game
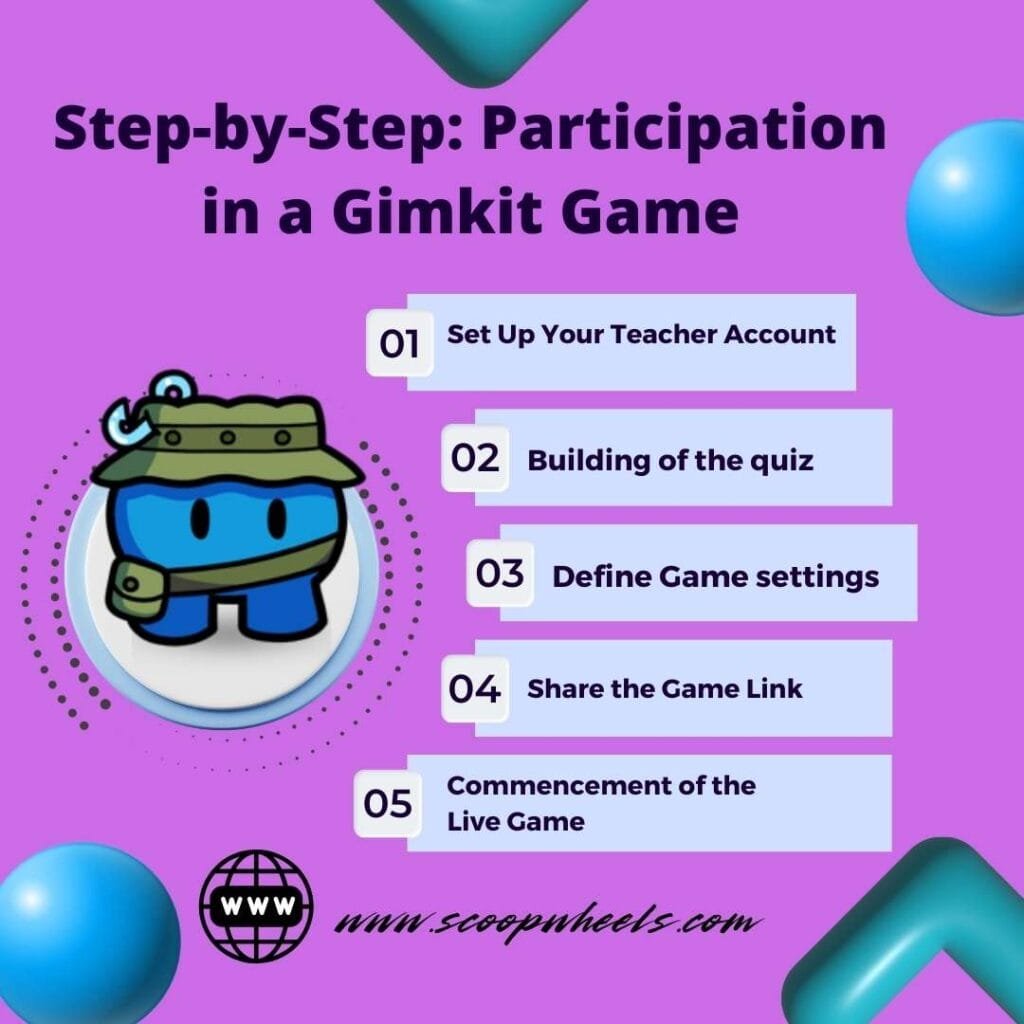
Further, below are the steps to take a part in Gimkit Host game:-
Step 1: Set Up Your Teacher Account
To be able to host a game, one is require to create a teacher account.
- Visit Gimkit.com and click the button ‘Get Start’.
- Click on “Teacher” and enter your personal data there.
- Once you have created an account, check your email to confirm to gain full access to the Teacher View.
- Uncover the control panel which will allow you to create and administer quizzes.
Pro Tip: You will have this unique teacher account where you get to design your own quizzes for your students and track their performance and results using a lot of analytical measures.
Step 2: Building of the quiz
After that, you need to create a quiz to start studying with Coursera effectively Translation: Once the Coursera account is create the next step is to make a quiz.
- Manual Entry: You just input your questions one at a time.
- Upload: It can also import questions from a list, preferably from a spreadsheet if you have them already.
- Remix Existing Quizzes: There are ready-made quizzes that can be easily customise to fit one’s requirements.
Step 3: Define Game settings
Once your quiz is created, you can then tune the settings of the game.
- Game Mode: Play alone, in pairs, or in group, or challenge other players and play them individually.
- Game Length: In most cases a 15-30 minutes is enough, however, the time can be adjusted depending on your preference.
- Player Limits: Decide whether the game should only be played at your class or if it can be played by other classes and students as well.
Fun Fact: Some of the most played games often take 20-25 and Statistics has shown that they are very engaging.
Step 4: Share the Game Link
After your game has been planned, it is now the right time to present it to your students.
- Email Invitations: Forward the URL of the game to the participants.
- QR Code: This way, students can easily join the class using their devices by scanning the QR code.
- Social Media: Put the link of the post on Social media such as the Facebook status or a tweet.
Step 5: Commencement of the Live Game
Here comes the fun part of the program, which is hosting the live game.
- Class Dashboard: View the learning progress & scores of the students with future tracking capacity.
- Question Queue: Check out the questions for the next session and adjust them if necessary.
- Projector Mode: Encourage students to play the game by projecting the game on a large screen for the whole class to view.
- Co-Host Feature: Allocate some duties of hosting to another employee in your organisation or office.
Features of Gimkit Host
Here are the some best features of gimkit platform:-
- Custom Quizzes: Relate quizzes with the goals of your lesson.
- Live Game Control: Change the parameters of games in the process of their play in order to accommodate your class’s speed.
- Detailed Analytics: Use classroom performance to track your students’ performance to adjust your teaching sessions.
- Easy Sharing: Pragmatically share quizzes directly through links, QR codes or on social media platforms.
Pros and Cons of Gimkit Host
Moreover, here’s a quick breakdown of the advantages and disadvantages of being a Gimkit Host:
| Pros | Cons |
|---|---|
| Engaging and interactive learning tool | Free version has limited features |
| Easy to use with minimal tech skills | Premium version required for more advanced features |
| Customizable quizzes and game modes | Some students may get too competitive |
| Provides detailed performance analytics | Internet access required |
Conclusion
Hosting a Gimkit Host game is more than just running a quiz; it’s about creating an environment where students are excited to learn. With the appropriate resources, approaches, and passion, it is possible to make your classroom experience much more attractive and effective. In any case, using Gimkit, you always have an opportunity to turn the education process into a game for free or, if you prefer, for a certain amount of money.
Disclaimer: This article is for informational purposes only. It is not affiliated with or endorsed by Gimkit. Further, all details and recommendations provided here aim to enhance your understanding and usage of the Gimkit platform.
Also Read About